
Soaking:
I'll start with my old method. This is what I did for the last few years and I was still doing it for the first few weeks of this blog.
Method:
After letting the polish dry completely, soak your fingertips in warm, soapy water. Let soak for at least 5 minutes, then peel excess polish from skin and cuticles.
Result:

Pros:
- Gets skin clean while allowing complete nail coverage
- Soaking softens cuticles
- Relaxing, good way to take a moment to just sit
Cons:
- Leaves a slightly jagged ridge at the cuticle, so does not look very good in photos
- If you soak both hands at the same time, you can't do *anything* for over 5 minutes
- Polish may not peel from especially rough spots
- Little bits of polish get everywhere
- Can't be done more than 2-3 times a week, won't peel if done too often
This could be the right method for you if you do your nails while watching tv and don't photograph them. This *was* perfect for me before I started blogging.
Shower:
This is probably every nail polish lover's beginner cleanup. I know it was mine when I was in school.
Method:
Just paint, dry, and then peel off the excess in/after the shower once your fingers have pruned. The idea is simple, but...it doesn't always work very well.
Result:

Pros:
- Easy
- No extra steps in your routine
- Fast
- Like the soaking method, this only works a few times a week and won't peel if done more often
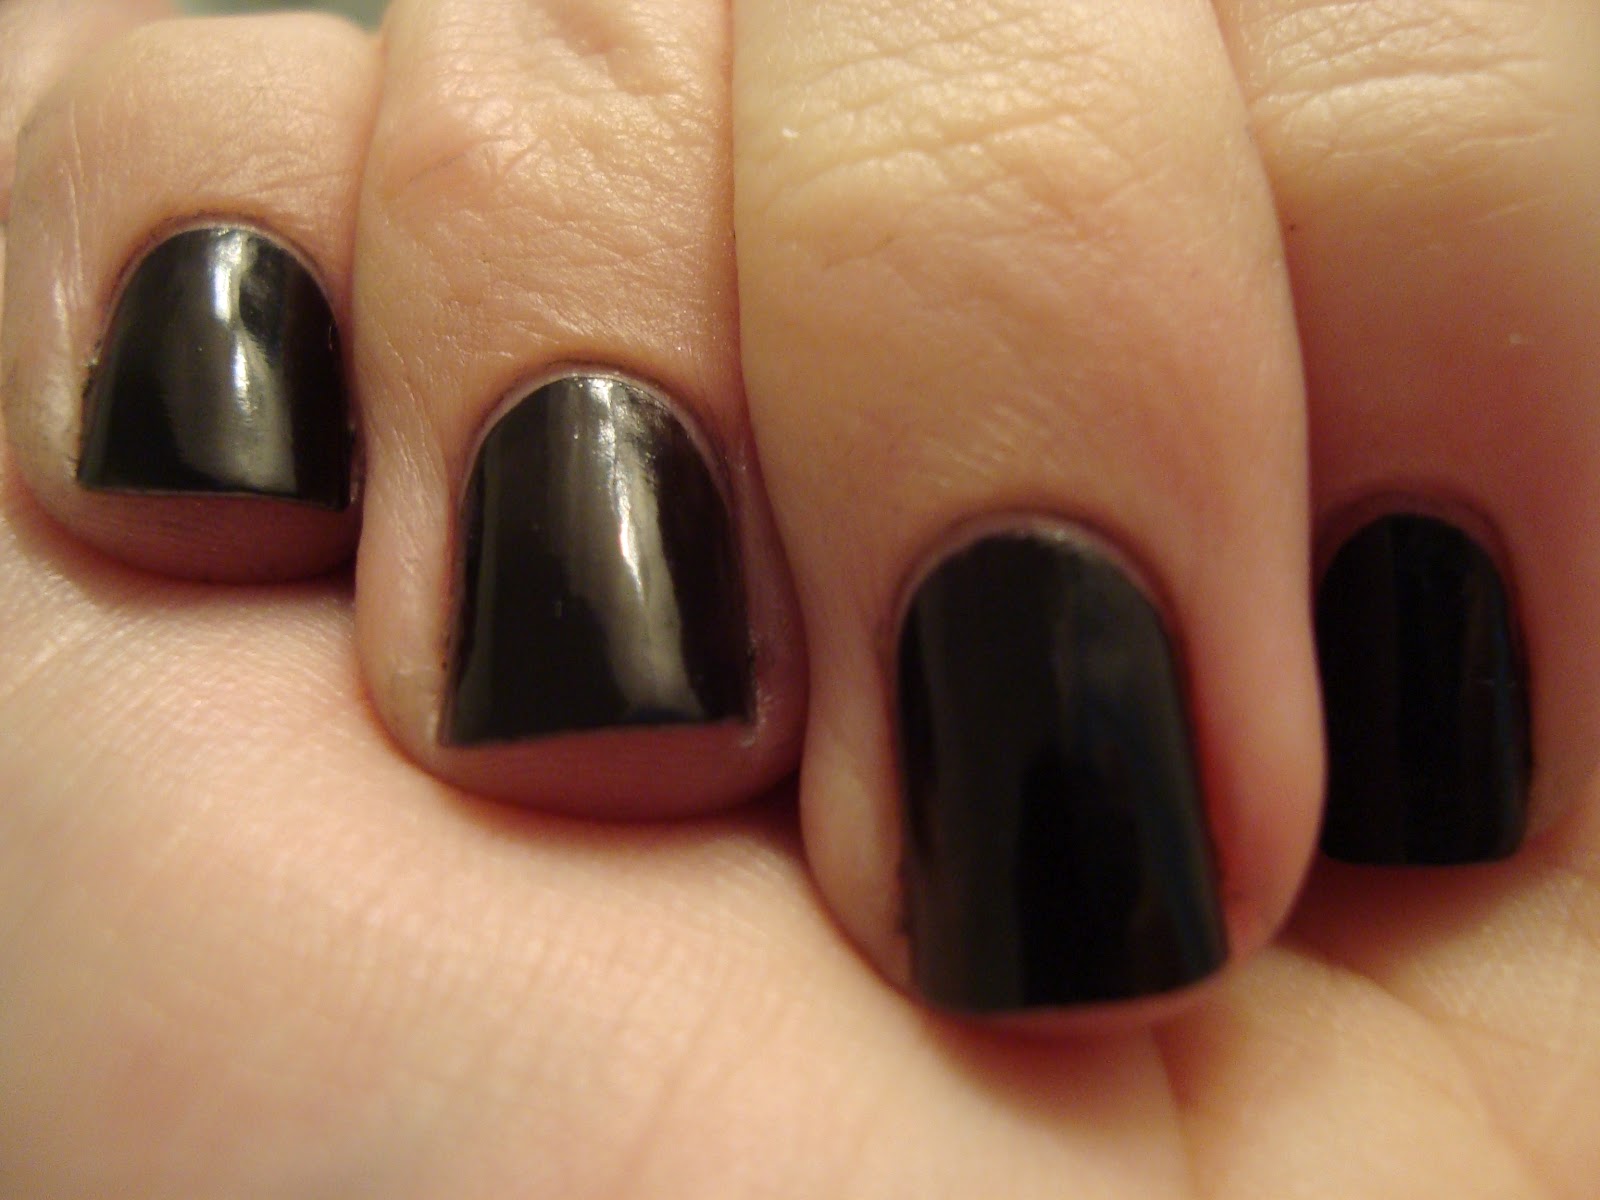
- Doesn't work if you take quick or cold showers, your fingers won't prune enough
- If you peel in the shower, it's very easy to slip and nick your polish, as you can see on my ring finger
- Leaves a moderately jagged cuticle line
- Polish must be completely dry or it will smear while you shower
- Little flecks and stubborn spots like soaking
If you're pressed for time in a busy schedule, this could work for you. Students and mothers of little kids seem to be the biggest fans of this method.
Q-Tip:
Possibly the most popular cleanup over-all.
Method:
Remove any excess with a cotton swab dipped in acetone or nail polish remover.
Result:
 |
| Oh hell no! |
Pros:
- You probably already have cotton swabs
- Can be started before polish has dried
- Swabs are clumsy, so if you are too, you'll make a mess like I did
- Wasteful, especially if you change your polish often
Honestly, I hated this. I know plenty of people do it this way, but this is just not for me. It felt like trying to butter bread with a shovel. I'm sure girls who are used to this method do it way better than this, but I couldn't.
Brush, No Gap:
I switched to this after I realized how bad soaking still left them for photos.
Method:
Paint to cover the whole nail, into every slightest corner, then clean up with a tiny brush and acetone.
Result:

Pros:
Cons:
I switched to this after I realized how bad soaking still left them for photos.
Method:
Paint to cover the whole nail, into every slightest corner, then clean up with a tiny brush and acetone.
Result:

Pros:
- Looks terrific in person, very crisp and clean with complete coverage
- Much smoother cuticle line than soaking or shower methods
- e.l.f. makes two very inexpensive brushes that are ideal for this [here and here]
- Can be started before polish has dried
- The ridge at the cuticle and any flooding can be smoothed with the brush until they're not visible in person
Cons:
- Photos show minuscule traces of polish like they were HUGE flaws
- Requires a steady hand
- Need to buy a brush
- Can take well over half an hour
- Acetone will dry you out a bit, so moisturizing is essential
If you have a steady hand and don't like gaps at the cuticle. I don't recomend this for photos or if you're in a hurry. This will still be my method when I'm painting them to go out and not for the internet.
Brush, Gap:
This is the cleanup method that virtually all major nail bloggers use.
Method:
Avoid the cuticles when painting, then define a gap between polish and cuticle with a brush dipped in acetone. The definitive tutorial is here.
Result:

Pros:
Cons:
This is the one to go with if you're a nail blogger or just take and post photos of your manicures online. It really does photograph so much better than any other method I'd tried. The speed of this method is also great if you want to swatch numerous polishes on the same day. This is the one I'll be doing most of the time from now on, to improve the quality of my photos. Nichole already does hers this way.
Vaseline:
One of my Facebook friends is the only one I know who does it this way. I'm grossed out by Vaseline, but I figured I'd try it for this comparison.
Method:
Before applying polish, put petroleum jelly on the cuticles and skin surrounding your nails. Any excess can be wiped right off the greased-up skin.
Result:
Pros:
Cons:
Verdict:
Like the q-tip, if this is your thing you're probably way better at it than I am. For me, this failed hard. Really hard. It smudged HORRIBLY over 15 minutes after this photo, on two nails.
Hope you enjoyed this and found it helpful. If you have another method, I'd love to know!
Brush, Gap:
This is the cleanup method that virtually all major nail bloggers use.
Method:
Avoid the cuticles when painting, then define a gap between polish and cuticle with a brush dipped in acetone. The definitive tutorial is here.
Result:
Pros:
- Looks very sharp and clean in photos if done well (I did just ok here)
- The same e.l.f. brushes I mentioned above are also perfect for this
- Can be started before polish has dried
- Relatively fast
Cons:
- Leaves a gap of bare nail
- Takes very steady hands and is easily overdone (gaps too large) or botched (uneven)
- Stained nails or cuticles can ruin the sharpness of this method
- Same drying acetone problem as above
This is the one to go with if you're a nail blogger or just take and post photos of your manicures online. It really does photograph so much better than any other method I'd tried. The speed of this method is also great if you want to swatch numerous polishes on the same day. This is the one I'll be doing most of the time from now on, to improve the quality of my photos. Nichole already does hers this way.
Vaseline:
One of my Facebook friends is the only one I know who does it this way. I'm grossed out by Vaseline, but I figured I'd try it for this comparison.
Method:
Before applying polish, put petroleum jelly on the cuticles and skin surrounding your nails. Any excess can be wiped right off the greased-up skin.
Result:
 |
| Not bad? Read my verdict. |
Pros:
- Easy
- Fast
- Petroleum jelly is very inexpensive
- Moisturizing
Cons:
- You can get traces of petroleum jelly on the brush and into the polish that goes on your nail, possibly even into the bottle
- Can drastically increase drying time and cause smudging
Verdict:
Like the q-tip, if this is your thing you're probably way better at it than I am. For me, this failed hard. Really hard. It smudged HORRIBLY over 15 minutes after this photo, on two nails.
Hope you enjoyed this and found it helpful. If you have another method, I'd love to know!


EMBRACE THE GAP
ReplyDeletelol...I'm trying. It does look better in photos.
ReplyDeleteI'm here I'm here! Now how do I follow you if I'm too lazy to set up a Google Reader? AND NO I DON'T WANT TO HEAR ABOUT HOW GOOGLE READER WILL SAVE ME WORK IN THE LONG RUN. The point is that it would be a lot of work to set up RIGHT NOW. Your sidebar insists I need Google Friend Connect. Do I have that? I have a Google account but all I use it for is email. I'm just gonna click that blue button in your followers box & hope for the best.
ReplyDeleteOh hey lookit that! IT WORKED.
ReplyDeleteOh good! lol Does that count as me finding out? ;)
DeleteHello! :D I think you *should* be able to join with just a regular google account....I think. I should really find out. lol
ReplyDeleteyeah, I dont have google reader or anything. Just a regular google account.
ReplyDelete