
 |
| China Glaze Fast Track |
The color's a little ho-hum for our Halloween theme, but my first mani with this shape had to be SFW. Neutrals on sharp nails are a bit of a mixed message, but I kinda like the clash.
I originally wanted to do a video to show how I filed them sharp, but I couldn't file comfortably and keep my nails in range of the camera...so you get photos instead.
These steps are fairly general to file to any pointy shape. You have to work with the nails you have as far as length, curve, and other factors are concerned. I honestly wasn't 100% sure how they'd look when I was done. The result is a little more "sharp almond" than I'd expected, but I love how they turned out!
These are the tools I used; Flowery Garnet Board and Black Beauty 180/180, plus a Tropical Shine -Way Buffer.

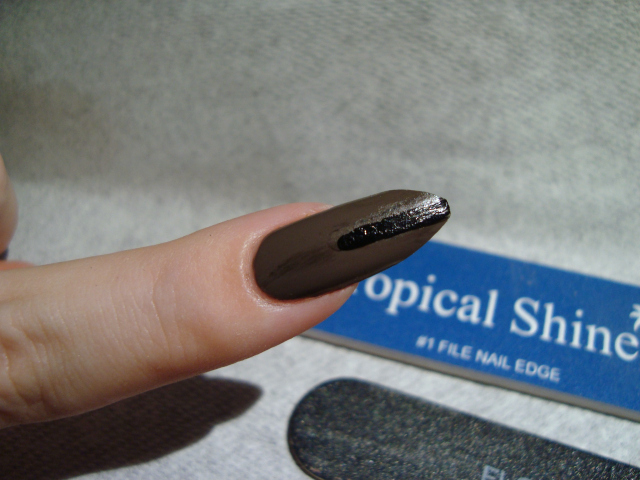
Once my tools were laid out, I painted a stripe down the middle of each nail (I always start filing with them painted) to guide my filing.

I screwed up the placement of the line on my index, so I wiped it off and redid it. Doesn't have to look good, but it does need to be in the right place.

Garnet board first, I filed toward the tip. I held the board at approximately the angle I wanted for the end result.

I did a little bit on the pinkie side, then switched to the thumb side. I filed toward the tip on both sides because it's important to always file in one direction.

Filing is like sculpting. You have to "step back" periodically to see how it's progressing. Note that I was only narrowing the sides at this point.

Back to filing. As I went on, I took the angle further down the length of the free edge. I alternated between viewing from above and below as I went. It helped me judge how the shaping was going.

Another appraising look...
Once they were fairly sharp I switched to the 180 board to refine the shape.

This step is when I really knew it was working.

The undersides look murderous!

I stopped before it was quite what I wanted, since these rougher boards leave nails jagged. The steps that smooth the edge out can also refine the shape. I removed my polish and used the filing portion of the 4-way buffer for this next step.

After that, the ridge remover part smooths things out even more. It helps reduce peeling.

To finish them off, I used that ridge remover part to seal the edges.

...and done!

I really wish I could have gotten a video, but hopefully this was some insight into the process.
all products in this post were purchased by me


They look awesome!
ReplyDeleteWicked cool! <3
ReplyDeleteI truly raise a glass to anyone who can wear these. Me.. it would be a ER trip waiting to happen!
ReplyDelete